Monday, September 2, 2013

A lot has changed since I last posted on this blog. First of all, I am in pharmacy school...just started my 3rd year! Second of all, the boyfriend I spoke of in there is now my fiance, and we moved again. That can only mean one thing...more pictures of what I've decorated! We are renting a 2 bedroom, 2 bathroom condo until I finish school. Here is what I did with the extra bedroom/my office...


 I was going for a calming, chic nautical theme. The longest wall is accented with stripes of white and gray, while the rest of the walls are the gray color. The fabulous pillow with the octopus on it was painted by my talented cousin Carla Wyzgala. Her website is: http://www.carlations.net
As you may have noticed, above my desk is a vision board. It helps to keep me on top of my studies when I'm not really feeling like it. I have pictures of dream houses, wedding pics, baby pics, etc. All things I want, but have to wait for until I'm done with my studies. 

Friday, July 2, 2010

A Bathroom Staple Gets a Makeover!

Towels and towel bars are in every bathroom.  So make it be a center piece!  I've seen lots of people neatly fold their towels and hang it over the bar...I've even seen where people dress it up with ribbon or raffia.  In the past I've taken silver chained necklaces and put it around the towel giving it a modern feel.  But who ever said you had to to hang the towel over the bar in the normal way?  Instead I have hung it the opposite way on the bar so the ends were facing up and secured it with a hair tie or rubber band. You just fold the flap over and the hair tie disappears making it now into a vase like structure.  I then proceeded to put a leaves and sticks arrangement in it.  This is what how it turned out...

Make sure if you do this you cut down the stems of the silk arrangement so when people go to use it, they don't get poked or scratched.  Make sure whatever you use to tie it is tight so the arrangement stays in place.


Here is the modern one with my necklace around it.  Sorry for the bad picture, I took it with my phone.

So get inspired and turn your towel into an art piece!  Even if you have left over decorative shower hooks, you can figure out someway to add it onto the towel.  Good luck and get creative!

Saturday, June 26, 2010

Sticks and Stones Are Setting the Tones

Now that summer school has started and I have my new rhythm down, I finally have time to share with you what more has been done.  My boyfriend and I are finally getting our bedroom situated, so no more boxes being used as night stands!  We are still adding onto our spa relaxing theme which consists of light colored woods, whites and creams.  We even have invested in spa smells of mint eucalyptus to add onto the feeling.  So with trying to stick with no colors in the room, it has been very hard for me to find art work to buy.  I found this at Zgallerie.com and fell in love with it:
But at $80 a pop, and it barely being 2 feet by 2 feet...it didn't seem like such a great deal.  So I headed to Michael's craft store and had the wheels in my head cranking.  I went down their wood isle and had an epiphany.  I bought those packs of wooden circles and ovals along with a big canvas.  I also invested in some white capiz shell beads, wooden beads, and small natural stones.  This is what I ended up creating:

It turned out to only cost $30 and took a half hour to make.  You could even make a spin off of this by painting the canvas or the wooden shapes to match your own decor.  I used gorilla super glue for the stones and clear tacky craft glue for everything else.  So simple! 
As I finish the master bedroom I will post more pics up.  Thanks for stopping by!

Tuesday, May 18, 2010

Green with Envy

So I ended up putting all of the green photos I made on the mantel.  I took all of my favorite pictures and uploaded them onto www.photoshop.com.  You will need to make a log-in if you are a first time user.  After putting all of my pics into the library on the website, you can do virtually anything to the pic.  And it is very user friendly!  So I would just click on a color and they have the tools on there to single that color out.  You can then either keep it the same color, or change it to a different one.  This is the arrangement I ended up liking the most...


3 out of the 5 pictures are funny ones...it helps me smile more through out the day.  They are also great conversation pieces!


All of the green and black and white really seems to give it continuity.  Pick your favorite color and get inspired!

Making the world more beautiful one wall at a time


So apparently I'm crazy for my original idea of wanting to paint one wall five different colors. The guy behind the paint counter at Lowe's gave me that "your nuts" look...very much like the one when ever Bob and I go to Hobby Lobby. So after the paint guy ruined a can of paint showing me it is impossible to mix in between colors, I finally just went with 3 colors. And although my original idea didn't go through as planned, it still turned out amazing! It was so incredibly easy and has a lot of wow factor. Here are pictures of the process...

We just measured the wall and divided it into 3 even sections.  We then put marks on each side of the wall at the same distance.  Next we took a laser pointer/leveler and had it running from marking to marking.  We then used the laser line to put frog tape across in an even line.  And voila!  The reason the paint colors go so well together is because they are all the same shades of gray.  When we went to Lowe's, we just picked out one of those cards that has the 3 colors on it, and that was all there was to it!


The final product!  The maintenance people ended up having to come in to do some repairs and they called the manager.  They asked permission to photograph our town home to put on the website.  I'll give up dates if that goes through! 

The candle holders on the table are from Red Envelope and are about $70...but you can usually find a 10% off code somewhere on line. 

You can see how cool the hanging fish tank looks!  All we need are some fish!

Thursday, May 13, 2010

A Modern Painting Anyone Can Make!

I made this painting for my boyfriend for his birthday last year and it took under an hour.  All you need is:
-Several colors of acrylic paint (match it to colors in the room)
-Acrylic paint extender
-foam brushes
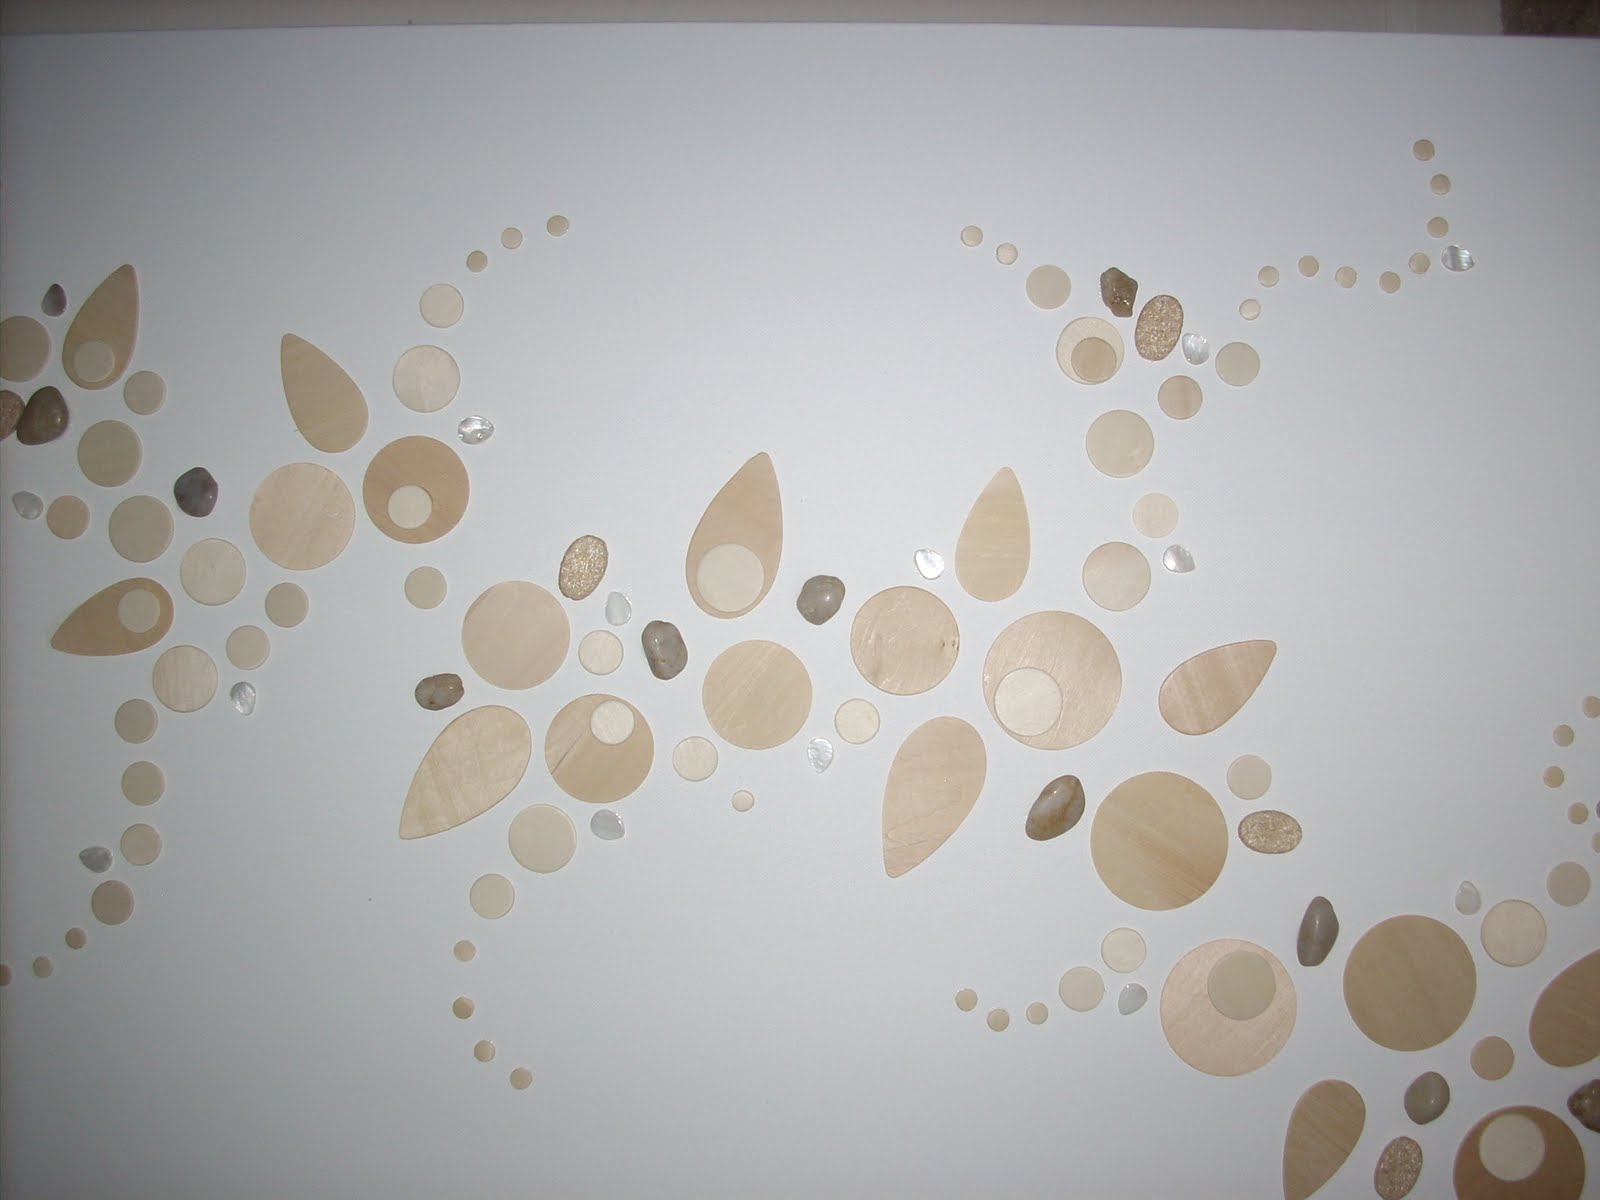
-Metal Roofing Shingles (these are the pieces used for the corners of chimneys...I found a large pack of them at Menards for $6...any hardware store should carry them)
-foam pop up craft stickers
-super glue
-canvas

First I started in one coroner and put thick lines of different color paint squirted directly from the bottle onto the canvas facing the same direction.  I then poured a little amount of the paint extender as well.  I just took a foam brush blending the colors just enough so that it wasn't fully mixed.   I repeated this in different directions until the canvas was to my liking.  The great thing about the paint extender, is you can keep redoing it until you're satisfied.  After the paint had dried, I used the super glue to put the foam pop up stickers on the backs of the roofing shingles.  Even thought they are already sticky on each side, they won't hold the metal pieces.  I varied the heights of the foam dots by putting more than one foam dot on some opposed to others.  I then just placed them in different direction and let them dry.  And that is really all there was to it!  You can use any material, do any pattern in the paints...the possibilities are endless!  Here are some other views...


I also varied the metal shingles by taking sand paper and scratching designs into them so the light would reflect differently.

This was a small one I made just using paints, a little quick spray of spray paint, and iron on studs...

Wednesday, May 12, 2010

My Vision of Decorating to Come...


This is the layout of our soon to be home.  Our style is contemporary and my boyfriend does NOT like color.  So this has been hard trying to figure out a way to make the rooms exciting without punches of color.  So my plan for now is:

Living Room
We are planing on keeping all neutral colors of grays, black, white, and beige.  We are planning on having the main long wall grey, and then the dining room wall and sliding glass door wall we want to do something a bit more exciting.  We are going to get 5 shades of grey and section off the wall into 5 horizantal sections as well.  We then plan on doing a fading paint job with the lightest shade on the top and the darkest on the bottom.  It will be a lot of work, but hopefully very worth it!  I'm hoping once I'm in the space to get more ideas. 

Kitchen
Luckily, all of the applinces are black and our pub style table we already have is black as well.  The only thing I bought extra to put in is a white capiz chandiler to put above the table.  It was $70 and from World Market.


Bedroom:
We wanted this to be our relaxing retreat, so we want it to be very spa like.  We are keeping the walls white and are attempting to update what we already have.  We just painted the old dresser I've had with ultra white paint and bought new handles.  Since the bed my boyfriend has does not have a head board, we are going to make a headboard.  I bought bamboo blinds from Big Lots ($12) and we are going to nail it above the bed.  So the room will revolve around whites and woods.  Hopefully it will turn out the way I'm envisioning it!

Dining Room: 
Besides the fading wall paint, above the buffet we are planning on hanging a fish tank to add another element of "WOW" factor.  In theory this is where we would like to have it, but we may decide on somewhere else.
 

Down stairs bathroom:
I am going to do a mini punch of color with bright greens.  I say mini because I'm going bring this out through photos and plants.  Here is an example of what I am talking about...


So this is the game plan for now...keep checking back to see if all goes as planned and my new ideas!